Heating Installation in Crawfordville, FL

Expert Heating Installation in Crawfordville, FL
Ensure year-round comfort and energy savings with professional heating installation services in Crawfordville, FL. An outdated or improperly sized heating system leads to higher bills and frequent repairs. Our experts perform thorough load calculations (Manual J) to select and install the perfect furnace or heat pump for your home, ensuring optimal efficiency and performance. We specialize in energy-efficient heat pumps and reliable electric furnaces, meticulously installing them to code. Learn the signs it’s time for a new heater, like rising bills or old age, and invest in a reliable, modern system.

Expert Heating Installation in Crawfordville, FL
When the cooler air arrives in Crawfordville, you rely on your heating system to provide consistent, efficient warmth. An outdated or improperly installed unit not only compromises your comfort but can also lead to surprisingly high energy bills and frequent, costly repairs. A professional heating installation is more than just a home improvement project; it's a long-term investment in your family's comfort, your home's value, and your monthly energy savings.
For homeowners in Crawfordville and the surrounding communities, choosing the right system and ensuring it is installed with precision is paramount. Since 1991, our family-owned and operated business has been dedicated to providing expert heating solutions tailored to the unique climate of North Florida. We understand that a successful installation is the foundation of a reliable and efficient heating system for years to come.
The Critical Importance of Professional Installation
The performance and lifespan of your new heating system are directly determined by the quality of its installation. A furnace or heat pump is a complex piece of equipment, and even the most advanced, energy-efficient model will fail to perform if it isn't set up correctly.
Proper sizing is the crucial first step. Before any equipment is chosen, a thorough load calculation (often called a Manual J calculation) must be performed. This analysis considers your home’s square footage, insulation levels, window types, ceiling height, and orientation to the sun. This data determines the precise heating capacity your home requires.
An oversized system will cycle on and off too frequently, a process known as short-cycling. This leads to inefficient operation, increased wear and tear on components, and poor humidity control. Conversely, an undersized system will run constantly without ever reaching the desired temperature, driving up energy costs and straining the equipment. Professional installation ensures your system is perfectly matched to your home, guaranteeing optimal efficiency and comfort.
Choosing the Ideal Heating System for Your Florida Home
While our winters are mild, effective heating is still a necessity. The right system for a Crawfordville home balances powerful performance with exceptional energy efficiency.
Heat Pumps: The Premier All-in-One Solution
For the Florida climate, a heat pump is often the most intelligent and efficient choice. Unlike furnaces that generate heat, a heat pump works by moving it. In the winter, it extracts ambient heat from the outside air and transfers it inside. In the summer, it reverses the process, extracting heat from your indoor air and moving it outside, functioning just like a standard air conditioner. This dual-purpose capability makes it a versatile, year-round comfort system. The primary benefit is incredible energy efficiency, as moving heat requires significantly less energy than creating it. Modern heat pumps also excel at dehumidification, a critical feature for managing Florida's humid environment and improving indoor air quality.
Electric Furnaces: Reliable and Powerful Heating
An electric furnace is a dependable and robust heating solution. It works by passing air over heated electric coils and then distributing the warmed air throughout your home via the ductwork. While typically less energy-efficient than a heat pump for our climate, an electric furnace provides powerful, consistent heat and can be an excellent choice in specific situations. They are often paired with a central air conditioning system to provide complete home comfort.
Our Meticulous Heating Installation Process
We believe a transparent and thorough process is key to customer confidence and exceptional results. Our installation is a carefully managed procedure designed to ensure your new system performs flawlessly from day one.
- In-Depth Home Assessment: Our process begins with a comprehensive evaluation of your home and existing HVAC system. We conduct a detailed load calculation to determine the precise size and capacity required for your new heating unit.
- System Selection and Consultation: Based on our assessment, your budget, and your efficiency goals, we guide you through the best system options for your home. We provide clear information on the benefits of each model, helping you make a confident and informed decision.
- Seamless & Code-Compliant Installation: On installation day, our certified technicians work with precision and care. We begin by safely disconnecting and removing your old unit. The new system is then meticulously installed, ensuring all electrical connections, refrigerant lines, and ductwork attachments are secure and meet or exceed local building codes.
- System Commissioning and Calibration: Once installed, the system is commissioned. This is a critical final step where we test and calibrate every component. We check refrigerant levels, test airflow, verify thermostat communication, and run the system through multiple cycles to guarantee it is operating at peak performance and efficiency.
- Customer Orientation: We don't consider the job complete until you are comfortable with your new system. Our technicians will walk you through its operation, explain the features of your new thermostat, and provide essential maintenance tips to help you protect your investment for years to come.
Recognizing the Signs You Need a New Heater
It can be difficult to know when to repair an old heater versus investing in a new one. Look for these common indicators that a replacement is the most sensible and cost-effective solution:
- Your System is Over 12-15 Years Old: Older systems are inherently less efficient and more prone to breakdowns.
- Rising Energy Bills: A sudden or steady increase in your utility costs is a clear sign your heater is losing efficiency.
- Frequent and Costly Repairs: If you are calling for repairs multiple times a year, the cost can quickly add up to a significant portion of a new system's price.
- Inconsistent Temperatures: Cold spots in certain rooms or an inability to maintain a consistent temperature throughout the house indicate a struggling system.
- Strange Noises or Odors: Loud banging, grinding, or squealing sounds, or persistent musty or burning smells, often signal serious mechanical failures.
- Excessive Dust or Poor Air Quality: An aging system can struggle to filter air effectively, contributing to more dust and allergens in your home.
Investing in a new, high-efficiency heating system provides immediate and lasting benefits, from lower energy bills and improved indoor comfort to enhanced air quality and the peace of mind that comes with a reliable, modern unit.
hear what our satisfied clients have to say
.avif)
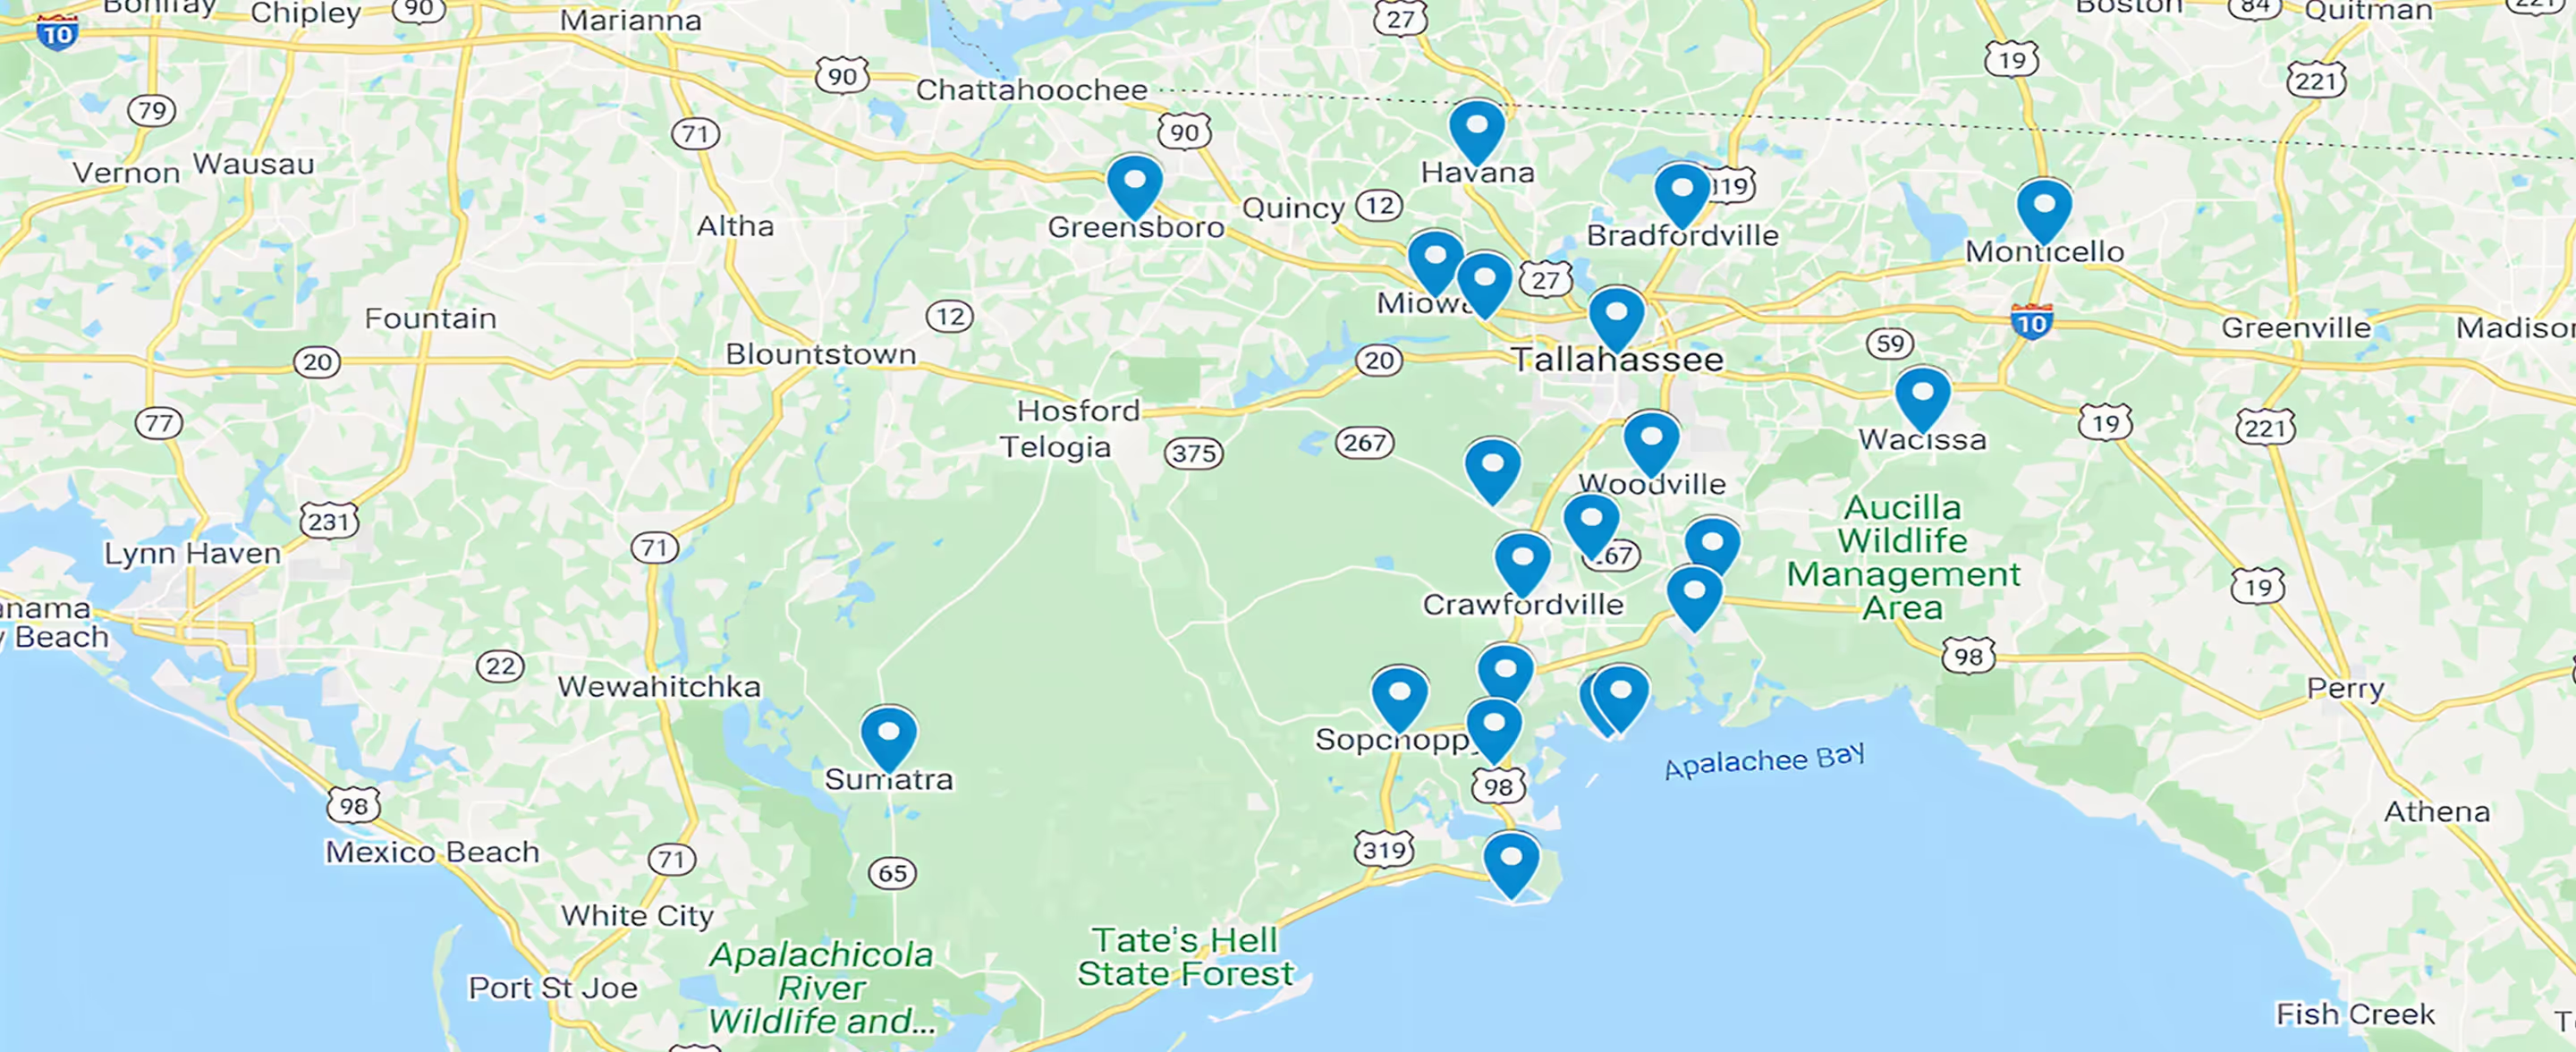
Service Areas


